


 Thanks:
  Likes:
Front Brakes
In this guide I will go over the basics of how to replace your brake pads and rotors on a standard disk brake setup. Just like most of my other guides, this one covers *most* vehicles. There is usually very minor differences between each type of car.
NOTE :
This guide does NOT cover drum brake systems, brake bleeding, etc
Don't ask me to provide a DIY on drum brakes either. I hate drum brakes and I avoid them like the plague.
Time Required :
30 minutes - 1 hour
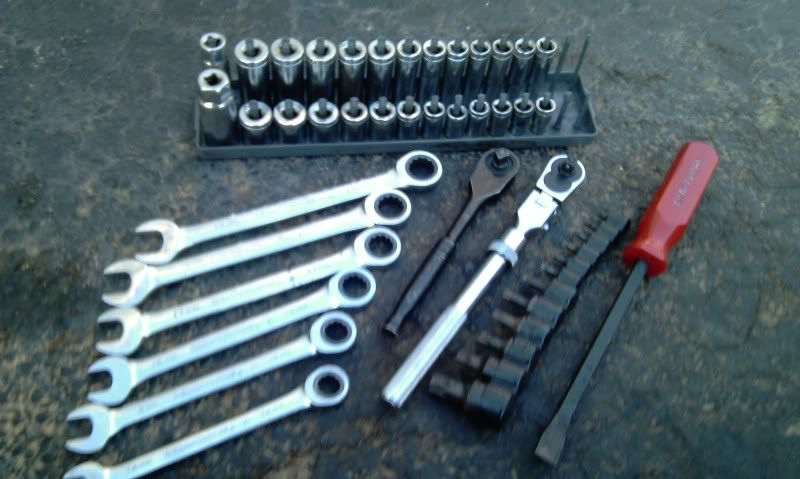
Tools Required :
This varies on each car. The following will usually cover most applications
Metric Sockets
Ratchet
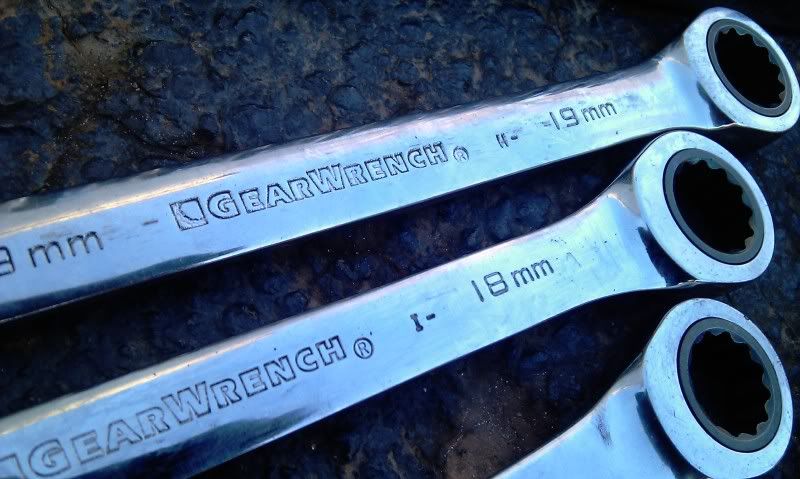
Metric Wrenches (GearWrenches work the best. If you don't have any, buy them.)
Torx & Hex sockets
Large C-Clamp
Large Flathead Screwdriver or Small Prybar
Hammer
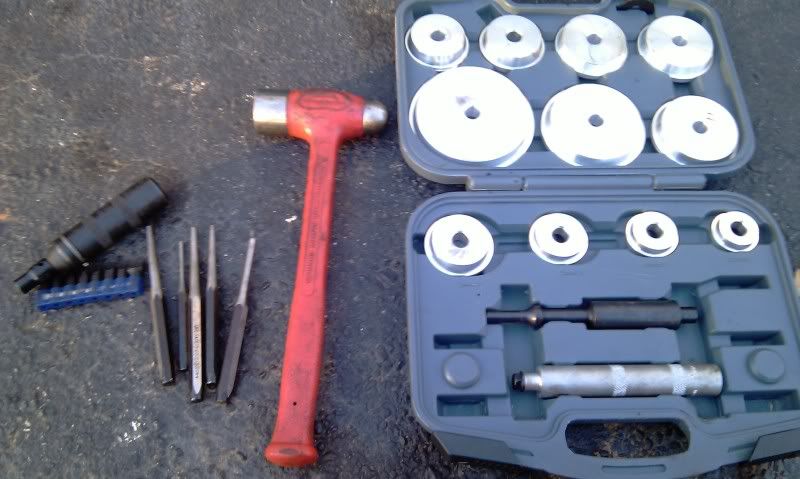
On some cars, you may have to have a bearing race kit and an assortment of punches if you're bearings are the kind that sit inside the rotor.
As well, some vehicles have rotors that have screws holding them in. The BEST way to get these screws out is by using an impact screwdriver. You can pick one up on any tool truck (Matco, Snap On, Mac, Cornwell) or at most auto parts stores. You can see one in the last tool image. They simply work by hitting the back side of it with a hammer. It transfers the hammer blow into sudden turning movement (by a gear inside the tool) to bust loose stuck screws. Its a lifesaver. Most Hondas have rotors held in like this.
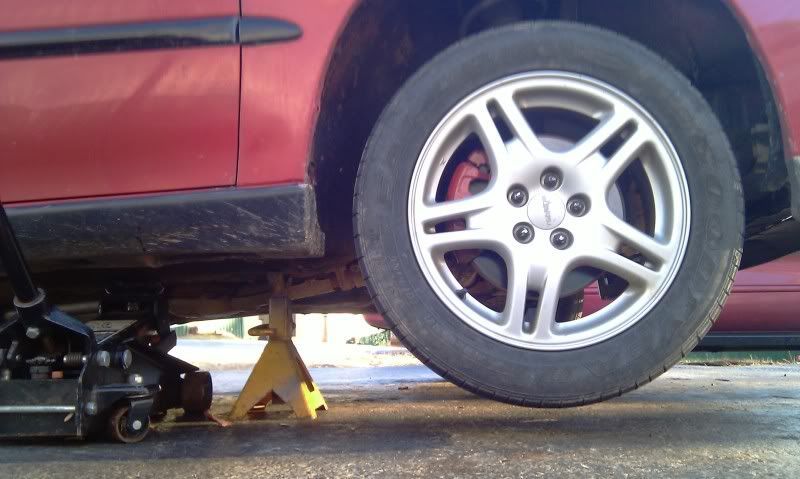
The car I've used in this guide is my personal 1997 Subaru Legacy GT. It has a basic disk brake setup and is similar to most vehicles on the road.
Step 1 -
Make sure you're parked on a level surface. Place blocks behind your rear wheels (if you're doing the front brakes), pull up your e-brake, ,and put the car in park (or 1st gear if its a stick). Break your lugnuts loose (but don't take them off) while its still on the ground. Now jack it up and support it with jackstands. NEVER rely on the jack alone to hold up the car while you're working on it. ALWAYS use jackstands. After you get the front end up in the air, remove your front wheels. Personally, I like leaving the jack under the car with the jack stand to provide a second layer of protection.
Step 2 -
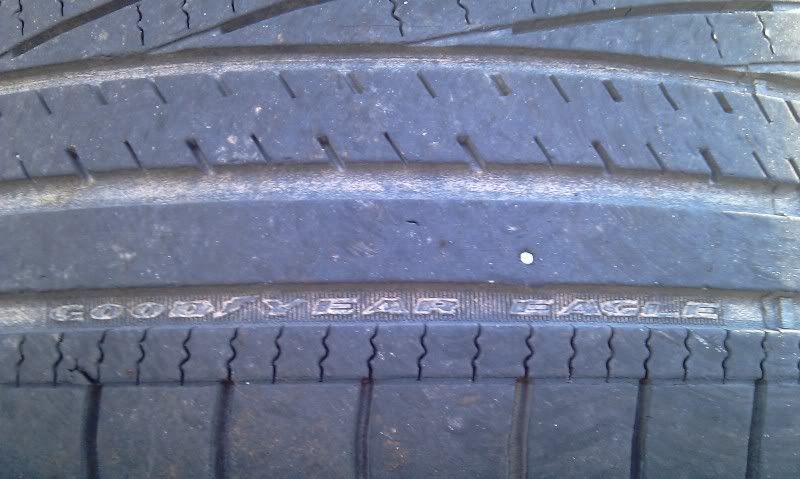
This is an optional step, but a good idea to do. Since you have your tires off the car, take a close look at them. Look to see if you have any abnormal wear indicating that you need an alignment. As well, look for any nails in the tires. In the picture below, I found a small nail in one of my front tires
Step 3 -
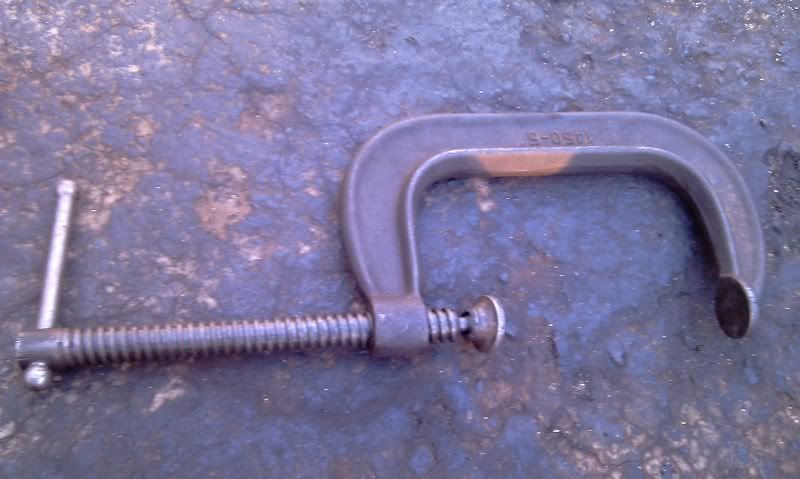
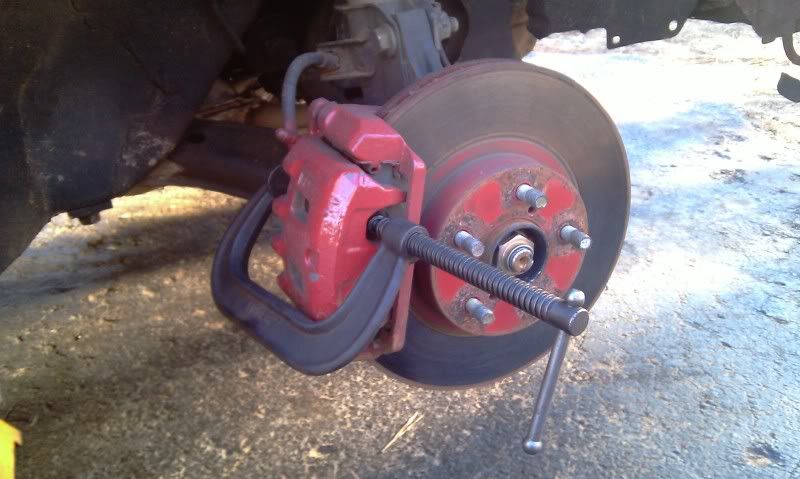
This as well is optional, but it will make your life A LOT easier for the following step.
Use a large c-clamp and hit the outside brake pad and the back of the caliper with it. When you compress the c-clamp, it will push back the brake piston a little bit. This will let you flip up the caliper easier later on.
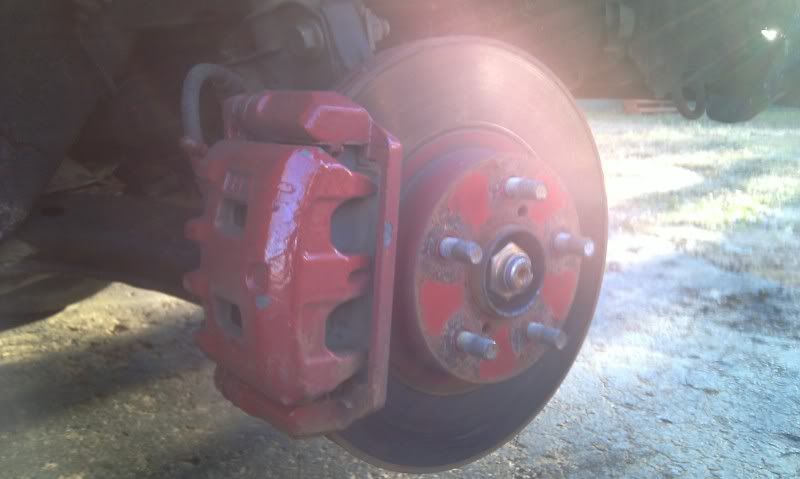
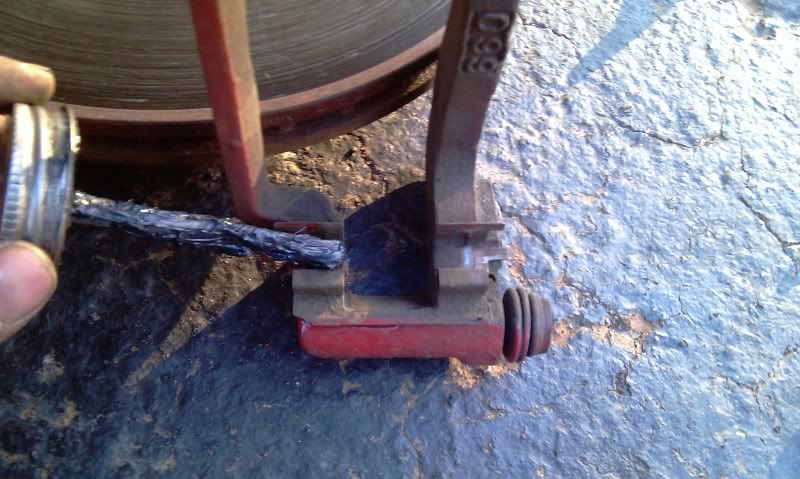
Step 4 -
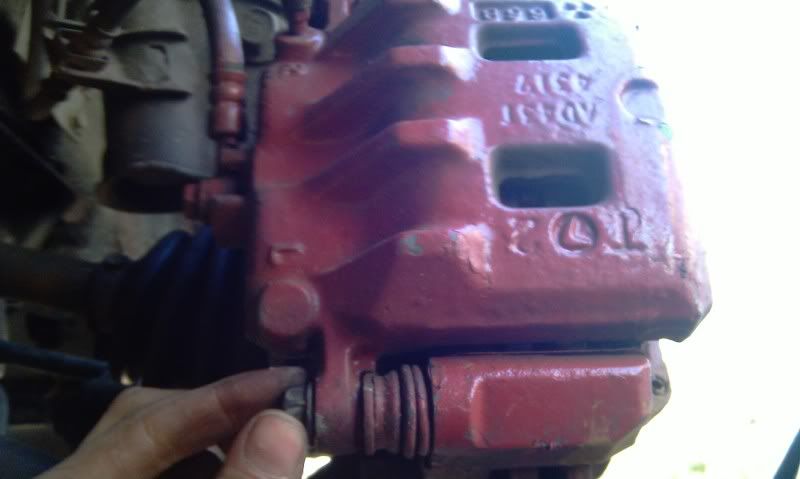
Take a look at the back side of the caliper towards the bottom. You will see the bolt in the picture below. There is one on top and one on bottom. Leave the top one in and remove the bottom. Once you break it loose, you should be able to remove it the rest of the way with your fingers easily.
TIP -
You can turn your wheel either direction to make it easier to get to the back sided of the caliper. If you're working on the right side, turn the wheels to the left....and to the right for the driver side.
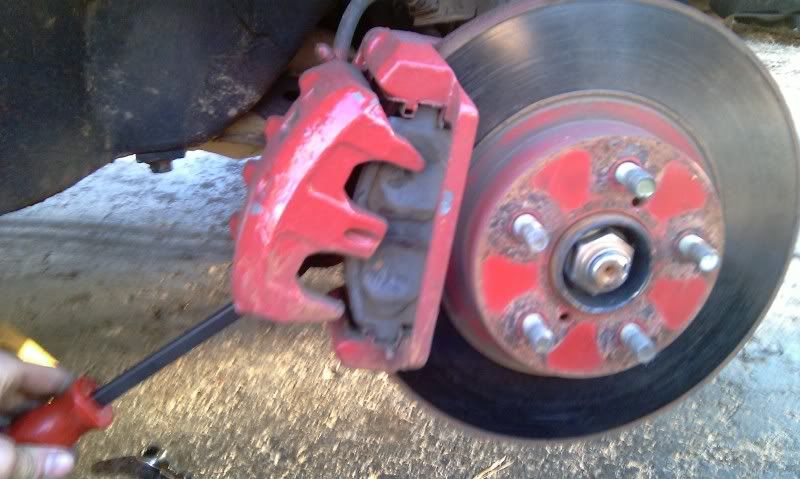
Step 5 -
Now you're going to flip up the caliper. If its tough to flip, you can use a screwdriver or small prybar to help you out.
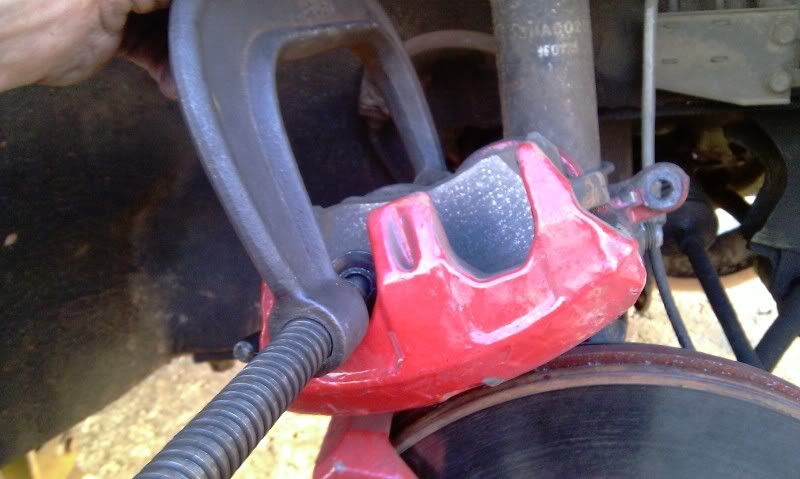
Step 6 -
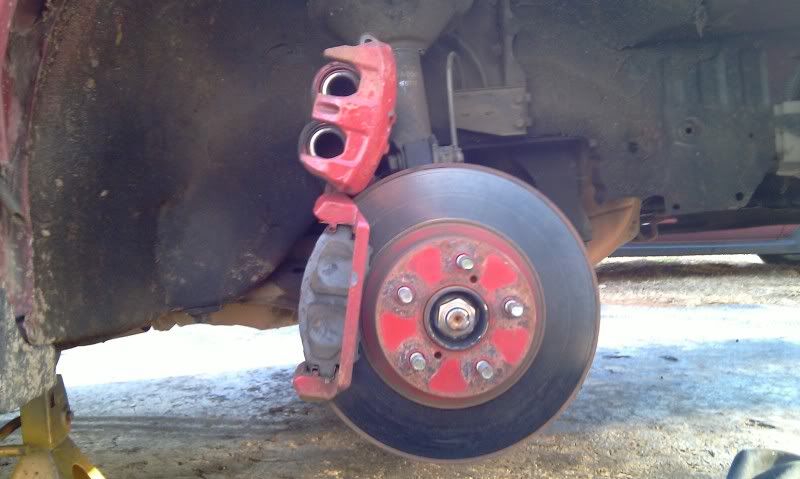
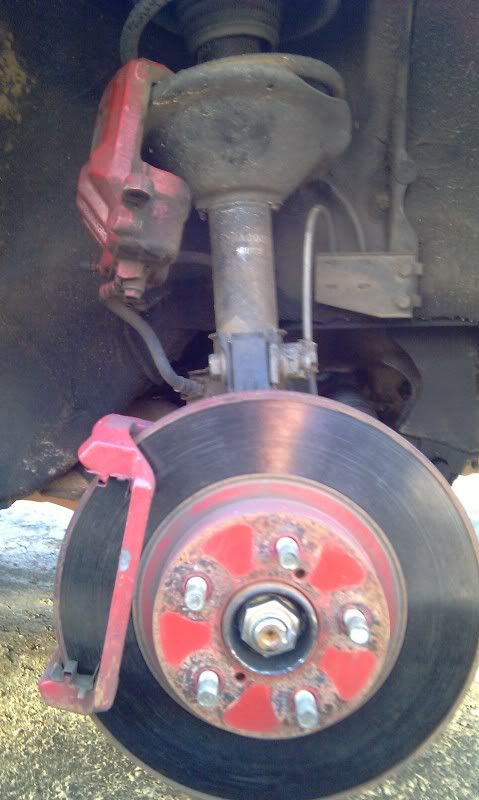
Now that you have your caliper flipped all the way up, simply push straight back on it. It will slide out of the machine bracket. You don't want to just let it hang around from the brake line (it can damage the line) so hang it from the strut or tie rod. Note on the right side the long pin. Remember this for later. Its called a slider pin. You're going to have to grease it later on. The second slider pin is still in the machine bracket and it too will be greased later on.
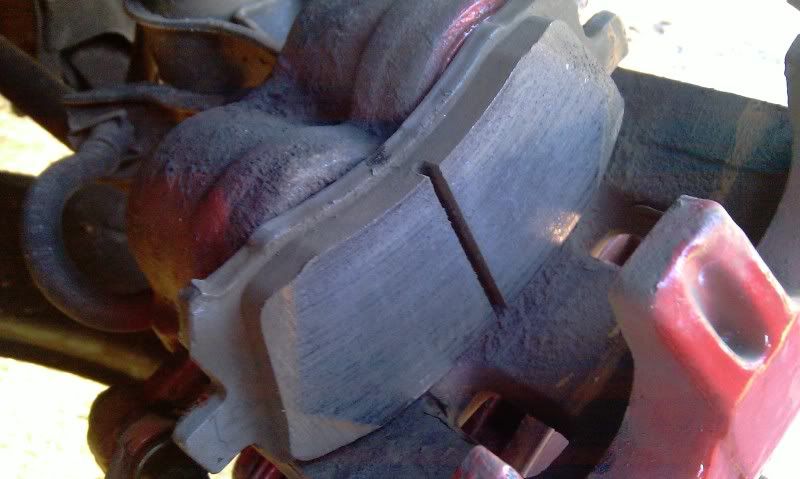
Step 7 -
Remove the brake pads from the machine bracket. If they are stuck a little bit, you can use a screwdriver or small prybar to help you get them out.
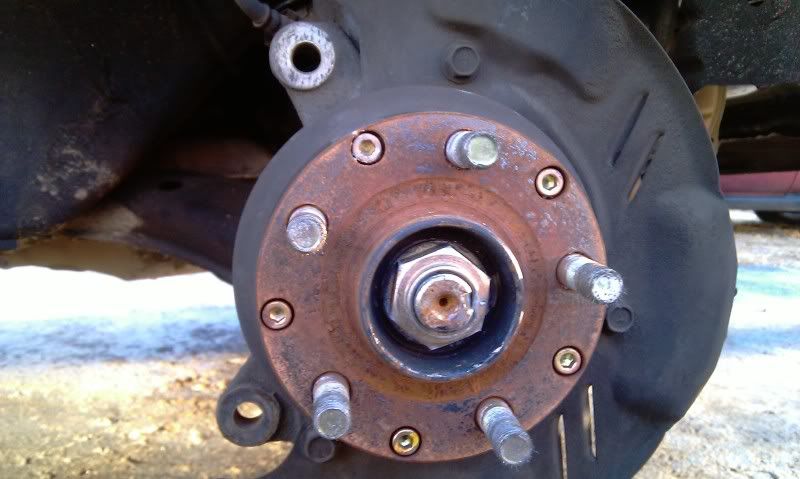
Step 8 -
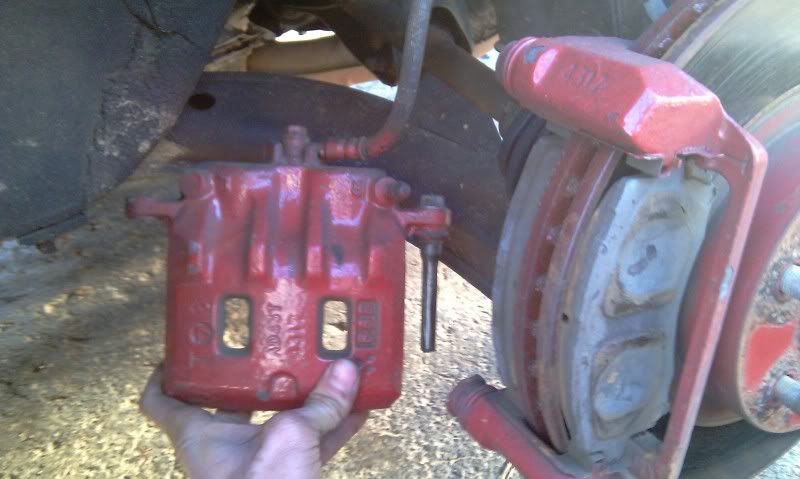
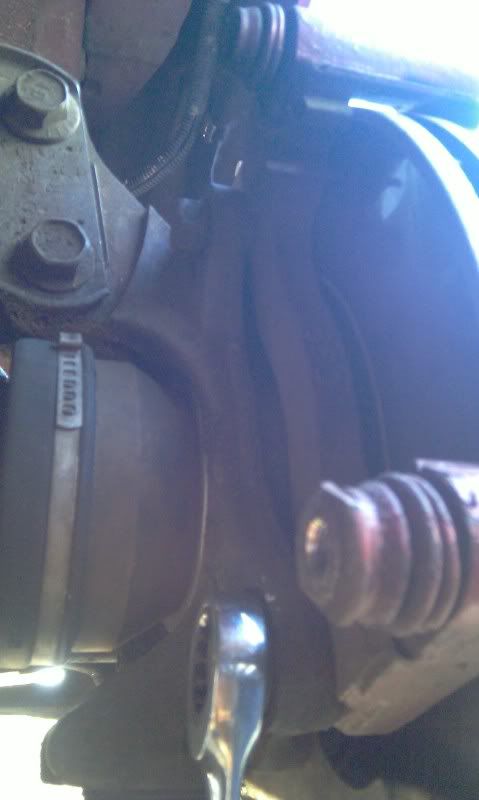
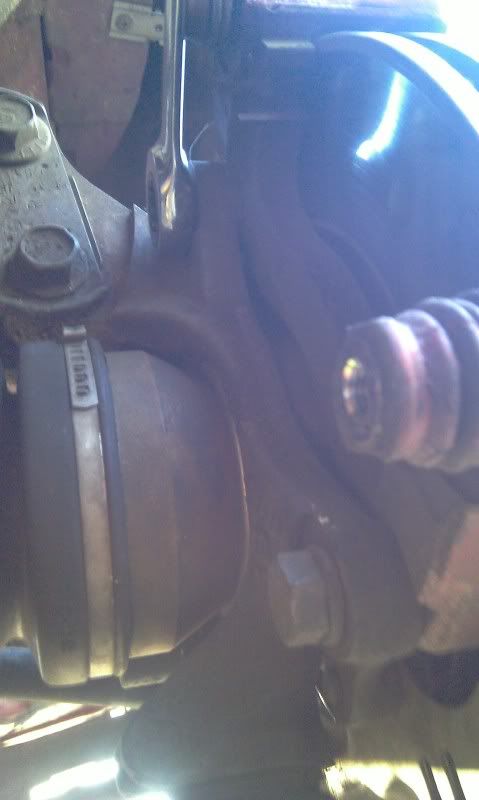
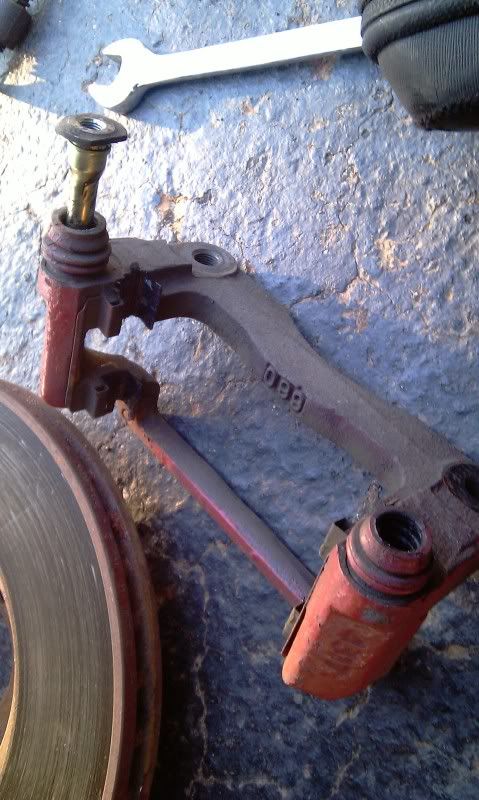
Go back behind the rotor and look for the two bolts that hold the machine bracket on the car. I have a wrench on the two bolts in the pictures below. Remove these bolts and the machine bracket will come off.
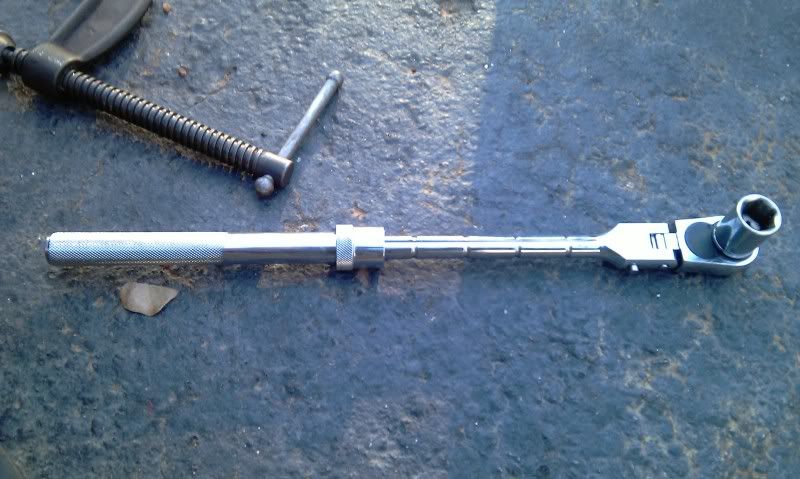
Picture # 3 below shows the setup I usually use to take these bolts out. They are usually pretty tight, so a long ratchet that gives you extra leverage is very helpful.
Step 9 -
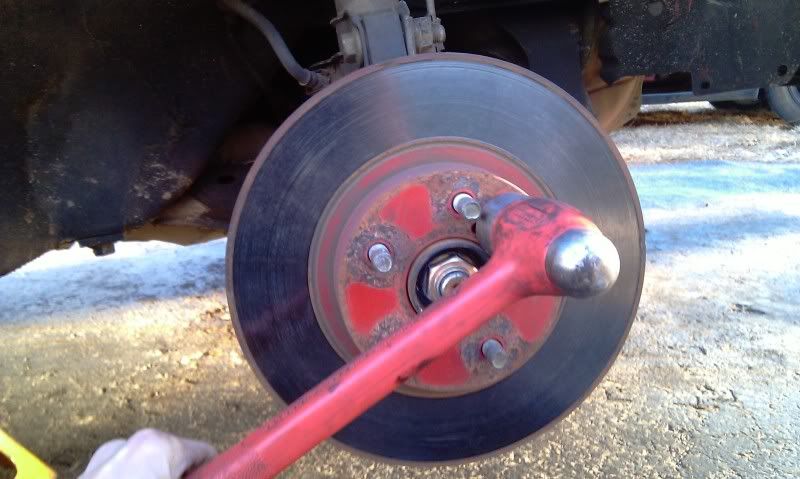
Now that your machine bracket is out of the way, you can take the rotor off the car. If you're working on a Honda, remember to use the impact screwdriver to take out the screws. Most other vehicles the rotor should basically "fall off" now. Sometimes they rust onto the car a little bit so you have to hit it with a hammer a few times to help break loose the rust.
Step 10 -
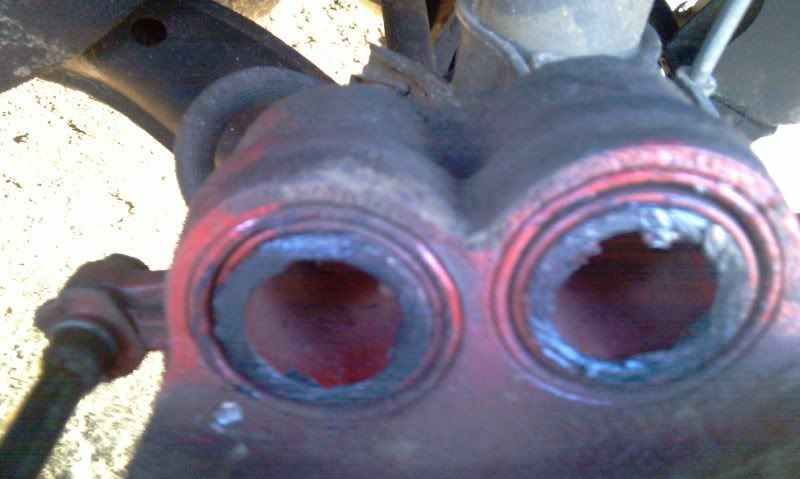
Now its time to push the piston in the caliper back. Grab one of your old brake pads and a c-clamp to do this with. Some cars (like the one pictured below) have two pistons in the caliper. Thats OK, the process is still the same.
Step 11 -
Now its time to start greasing everything up. The grease will help your brakes move more freely, and it will cut down on brake noise as well. When you buy your brake pads, you can ask the parts guy for "caliper grease". He will know just what you need. The following lube points are the automotive industry standard :
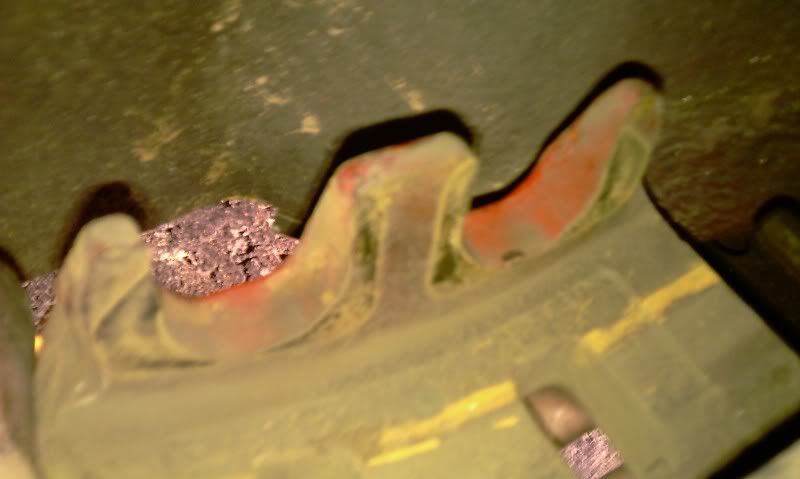
Catch the machine brakcets where the pads rub along them with lube. Both top and bottom.
Get both slider pins we talked about earlier
Get the caliper pistons
And get the front inside part of the caliper that rubs against the outside pad.
Step 12 -
Now you start putting everything back together. If you're replacing the rotor, sure you spray it down with brake parts cleaner to remove all the oils from it.
Put the rotor on
Put the machine bracket on
Put the pads in
Put the caliper on
Put the wheel on
Lower the car
Torque the lugnuts.
IMPORTANT NOTE :
BEFORE YOU DRIVE YOUR CAR YOU HAVE TO PUMP UP THE BRAKE PEDAL. Since you pushed back the caliper pistons, you are going to have to pump the brake pedal several times in order to get the pads to meet the rotor. Don't forget to do this or else you won't be able to stop your car. Just pump the brake several times until it gets stiff and you will be good to go.
There are a few minor differences for the rear, but if you understand how to do your front brakes the rears will be EASY to figure out.
In the guide above, I removed a bottom bolt from the caliper, the rear you have to take off the top bolt. To replace the caliper, just undo the brake line and put the new caliper on...Pretty easy.
As far as the parking brake shoes, try adjusting them first. You can do so by an adjuster wheel inside the assembely of it.


Bookmarks